Spherical panoramas are becoming increasingly popular on social media with Facebook and Google providing the facility to upload and move around a 360×180 image on a phone screen. I have written this article with the aim of providing an overview of panoramic photography, to demonstrate what is possible and hopefully inspire members to go out and give it a try. Panoramas are useful in several circumstances; to expand and enhance the view, to increase image resolution, to facilitate an optimal shooting position in cramped spaces, and to enhance the viewing experience.
Types of panoramas
There are several types of panorama that we can create digitally for onscreen viewing on a PC, from a number of basic exposures:
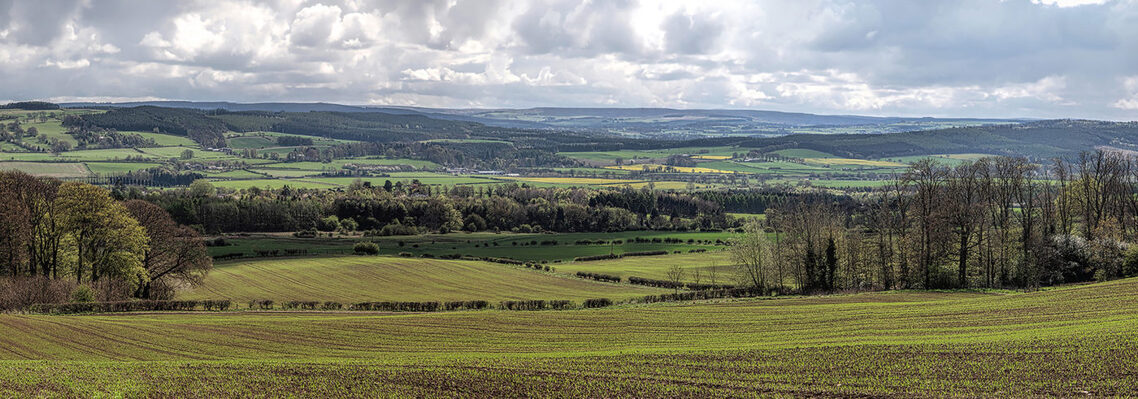
- Planar linear, using both landscape or portrait format in the basic images depending on the requirement for image length to height ratio. The image below is from 5 portrait shots.
Leazes Lane - Planar vertical, otherwise known as vertoramas.
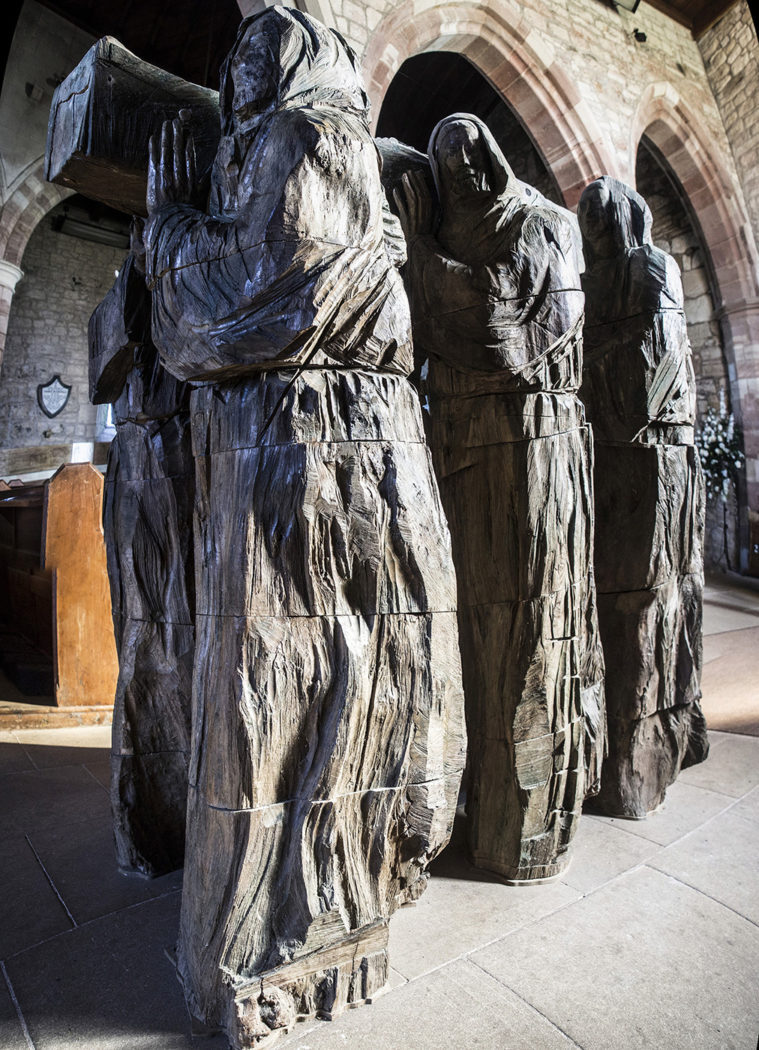
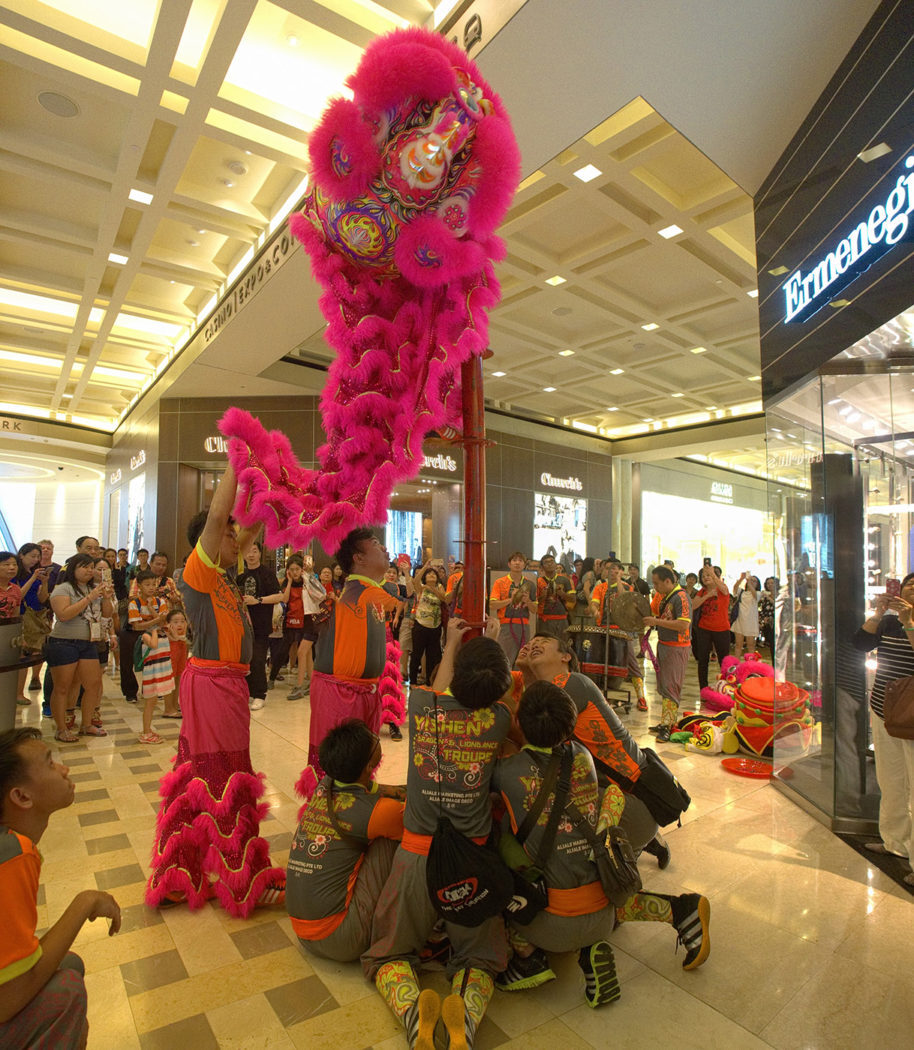
Lindisfarne 3 images taken in landscape mode / Chinese New Year 2 images taken in Landscape by Peter Newman - Matrix, several images merged in multiple rows to form a rectangular composite. The image below is from 9 shots in three rows with a simple point-and-shoot camera
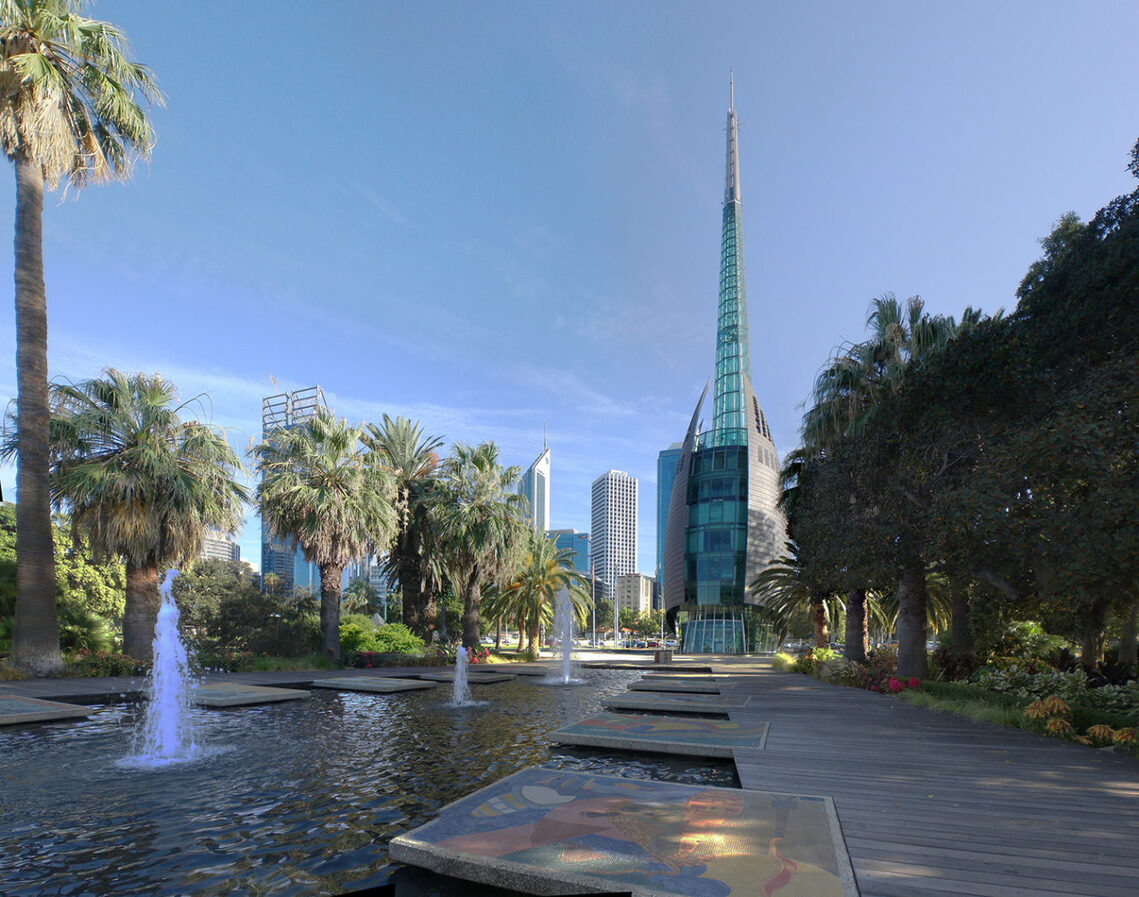
Bell Tower Perth – 9 images in 3 rows - Cylindrical, linear images are stitched to form a seamless circle for continuous viewing. A lens of 24mm plus focal length is preferred for cylindricals as shorter FLs distort the image excessively for stitching.
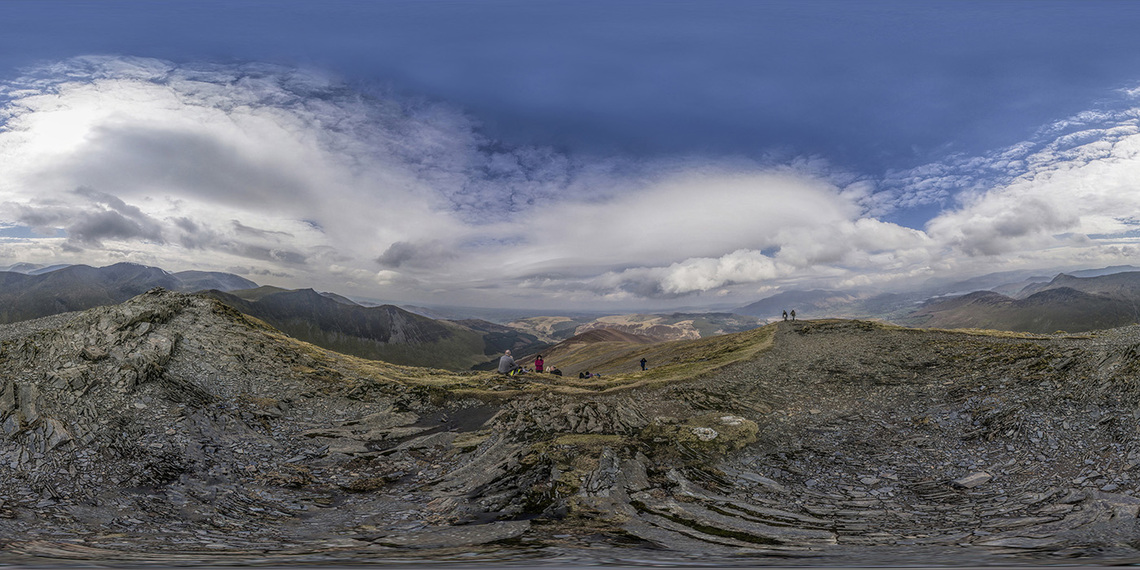
Elizabeth-Quay-Perth-18 - Spherical, otherwise known as 360x180. In practical terms, these are formed from 6 (FF) or 8 (4/3) images stitched into an equirectangular composite with a 2:1 dimensional ratio. These images are heavily distorted at the zenith and nadir positions and require special software to view and navigate around their whole surface. The image below is with a micro4/3 camera, 6 shots horizontally, one above and one below.
Grizedale Pike (heavily distorted at the zenith and nadir positions)
Sorry - This image does not appear to be available on the 3rd party host anymore.
Grizedale Pike (viewed in special software)
Panoramas using a smartphone
This is probably the most readily accessible way to start exploring the subject as the majority of modern mobile smartphones have a panorama feature on their cameras. It requires just a click of a button to sweep out a long linear image, and merging to a jpg is done instantly in the camera.
Hexham Abbey
Panoramas with a DSLR
A DSLR can be very suitable for all types of panorama, but 360 panoramas require the use of a fisheye lens, set in portrait mode. It is possible to shoot by hand but it is preferable to use a special panorama head on a tripod to fix the position of the camera for the avoidance of the parallax phenomenon. The correct position on the head forces the camera to rotate about the entrance pupil (sometimes called the nodal point) of the lens. Normally the head’s rotation is fitted with click stops to facilitate the easy setting of overlapping exposures for the eventual panorama. A full frame camera requires 4 shots around plus zenith and nadir, and a 4/3 or APS-C camera requires 6 around plus Zenith and Nadir 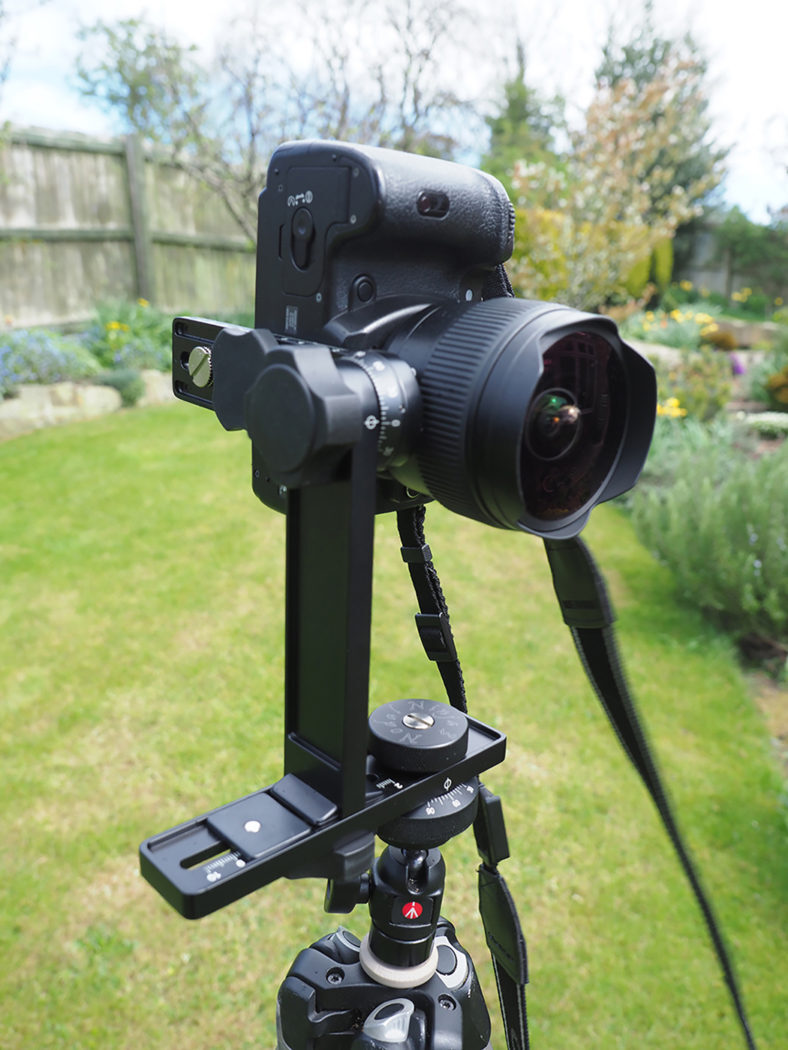
Nodal Ninja Pano Head
In all cases it is best to use manual focus and a fixed aperture at approximately the midpoint between the maximum and minimum light around the camera, thus averaging the light for the final composite. Manual focus is hardly necessary with fisheye lenses as their depth of field is huge. Setting focus just short of infinity is usually enough. I usually shoot RAW. I select all the images together in Adobe Bridge, to transfer them into Adobe Camera RAW and process with synchronisation set to ensure all files receive identical treatment before passing through to Photoshop. Once in Photoshop, I save the images as jpgs, although some aficionados save as TIFFs, prior to either stitching in Photoshop or one of the other software packages outlined below.
360 Cameras
In the past couple of years, a number of specialist 360 panorama cameras have been launched. The pacemaker was the Ricoh Theta S but several others are now available at reasonable prices (under £500). A google search leads to a number of promotional videos. Professional rigs are available at £3500 or so. Wanting to put my toes in the water I bought the Insta360Air which fits into a high(ish) spec Android phone from which it takes power, and which also stores the taken images. It can now be bought quite cheaply but buyers should take care of the required specifications for phones and the USB connection. There is an equivalent Insta360 camera for Apple iPhones. These cameras have two fisheye lenses and shoot a panorama in a single exposure. The Insta360 Air processes the panorama in the phone and can upload directly to Facebook and Google Maps. These cameras also shoot 360 videos, an upcoming attraction for social media. It must be noted, though, that the panorama resolution is far inferior to a panorama taken with multiple shots on a DSLR.
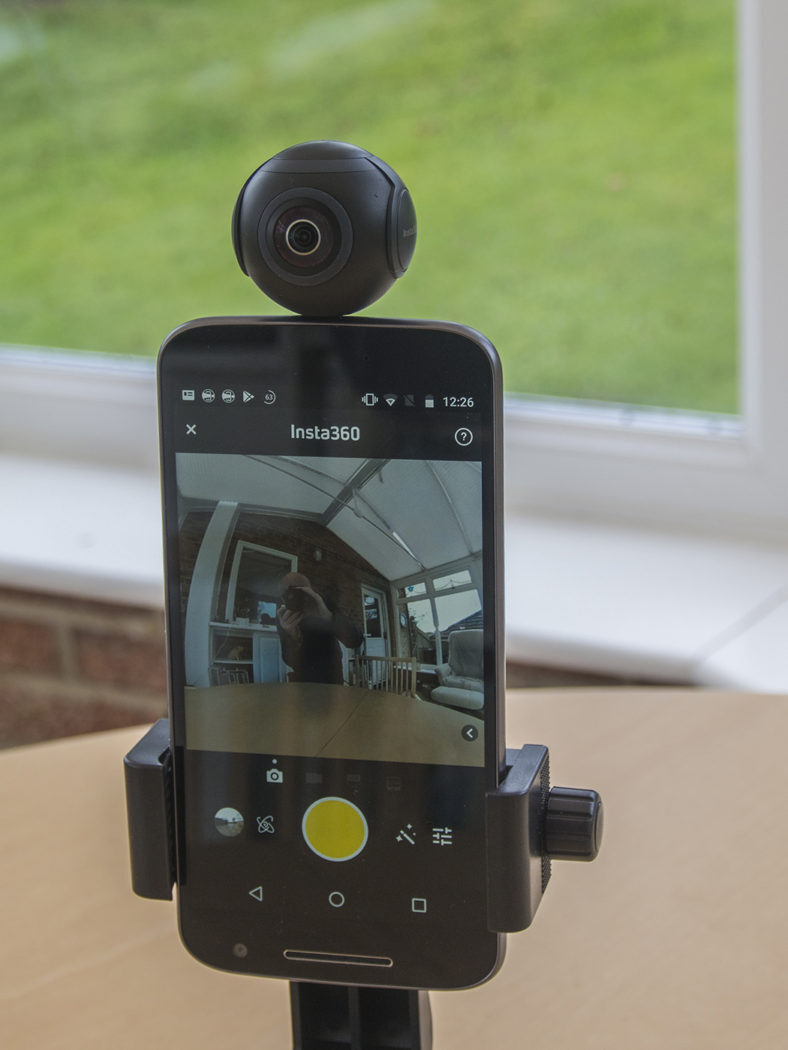
Insta360Air
Software for stitching and viewing
I have used a paid-for app, AutoPano Pro from Kolor, for many years for all my panoramas but for most panoramas, it is adequate these days to use Photomerge in Lightroom or Photoshop. Sphericals almost inevitably need a paid-for app and PtGUI is a favourite for many. Hugin is a good free app but is a little more complicated to use. It uses the same basic algorithms as PtGUI and has the same heritage (from basic work done by German professor Helmut Dersch around the year 2000). There are several high spec high price software packages aimed at the Real Estate business world capable of creating pano tours of the property. I have the entry-level version of Kolor Panotour software which I use for personal purposes only.
I also use PanoramaStudio Pro which includes a viewer and provides coding for the inclusion of rotatable panoramas on websites.
A viewer is necessary. I use the free FSP Viewer. Norton Security software on my PC does not like FSP Viewer but it is totally safe. I have used it for years on a number of Windows versions without a problem. Norton doesn’t seem to like its low usage status. Panorado is another viewer which navigates cylindrical and spherical Panos quite adequately and Pano2VR is a quite expensive viewer (£100) for those keen on web upload.
Apple Quicktime can show panoramas generated in a cubic format but this software is not being further developed I understand. Many apps nevertheless use a cubic format of six flat sides as part of the panorama development and some allow the separate sides to be isolated and edited.
Editing panoramas has long been a problem, especially the nadir area. Some photographers just ignore the area as unimportant and others put a patch over the area showing the camera tripod. This situation has been relieved this year with facilities in Photoshop CC 2018 to put panoramas into 3D mode for editing and subsequent export.
A newly launched app Affinity Photo also has this facility. Affinity Photo is a new editing app from Serif which is being promoted successfully by its creator Serif as a cheap alternative to Photoshop. I like it, and Serif derives its panorama expertise from the same source as Kolor, licenced from the University of British Columbia, which developed the Autostitch algorithm in the early 2000s. UBC still make Autostitch freely available for download but it is basic compared with the output of later developers.
Some more sample images
Apologies the viewers below are not available at the present time.
[iframe src="http://www.hexhamphotographic.org/wp-content/uploads/panobox/Aydon Dene PS/Aydon Dene.html" frameborder="0" width=700 height=350]
Aydon Dene (Spherical)
Carlisle Cathedral (Spherical)
Hexham Abbey (Spherical) [iframe src="http://www.hexhamphotographic.org/wp-content/uploads/panobox/HexhamAbbey/Hexham Abbey.html" frameborder="0" width=700 height=350]
Karri Trees (Spherical) [iframe src="http://www.hexhamphotographic.org/wp-content/uploads/panobox/Karri Trees PS/Karri Trees.html" frameborder="0" width=700 height=350]
Singapore Marina Bay (360) [iframe src="http://www.hexhamphotographic.org/wp-content/uploads/panobox/Singapore Marina Bay/Marina Bay Singapore.html" frameborder="0" width=700 height=350]
Final thought
Hopefully, this piece has opened your eyes to the possibilities for panorama photography in your own work. Don’t just admire the examples shown here, take them as inspiration, and at the same time think that you could very likely do better yourself. Go try.
Further reading
A more in-depth Panoramic Photography Tutorial can be found on the site below. https://photographylife.com/landscapes/panoramic-photography-howto
